What Are .DAE Files? (The COLLADA Standard Explained)
If you work with 3D modeling, game development, or architectural visualization, you will frequently encounter files ending with the .dae extension. But what are .dae files, and why are they still widely used alongside modern formats like GLB and FBX?
DAE stands for Digital Asset Exchange. It is the file format used by the open-standard COLLADA (Collaborative Design Activity) XML schema. Originally created by Sony Computer Entertainment and currently managed by the Khronos Group (the same non-profit consortium behind OpenGL, Vulkan, and glTF), COLLADA was designed to solve a fundamental problem in computer graphics: interoperability.
Instead of locking geometry and animations inside proprietary binary formats, a .dae file is human-readable XML. It structures 3D geometry meshes, vertex normals, UV texture coordinates, rigging armatures, skin weights, physics constraints, and lighting data into a standardized hierarchical format.
Why Do 3D Creators Still Need .DAE in 2026?
While web-first engines heavily favor glTF/GLB for real-time browser rendering, DAE remains indispensable across several massive creative ecosystems:
- Architecture & CAD: Programs like Trimble SketchUp, Lumion, Chief Architect, and ArchiCAD use COLLADA as their native exchange bridge.
- Virtual Worlds & Metaverse: Platforms such as Second Life, OpenSimulator, and IMVU require
.daefor uploading custom avatars, rigged clothing, and interactive 3D mesh assets. - Open-Source Game Engines: Engines like Godot 3/4 and Raylib offer robust native COLLADA importers for static and animated scenes.
- Robotics Simulation: The Robot Operating System (ROS) and Gazebo simulator use
.daemeshes to define visual robotic links and sensors in Unified Robot Description Format (URDF).
How to Export DAE from Blender (Step-by-Step Tutorial)
Exporting a 3D model from Blender (v3.0, v4.0, and newer) to a clean, working .dae file with textures intact requires specific configuration. Follow these steps:
Step 1: Clean Up and Prepare Your 3D Model
- Check Face Orientation: Switch to Overlays in the 3D Viewport and turn on Face Orientation. All exterior polygons must be blue (normals facing outward). If you see red faces, enter Edit Mode, select all faces (
A), and pressShift + Nto recalculate normals. - Apply All Transforms: In Object Mode, select your meshes and press
Ctrl + A > Apply All Transforms(Location, Rotation, Scale). Non-uniform object scaling is the #1 cause of distorted rigs or flipped polygons upon export. - Check Material Setup: Ensure your model uses standard Blender Principled BSDF nodes. Exotic shader node setups (like Procedural Noise or Musgrave textures) cannot be parsed by COLLADA and must be baked into image textures first.
Step 2: Access the Collada Exporter in Blender
Blender comes with a built-in COLLADA export module enabled by default. Click on File > Export > Collada (Default) (.dae) in the top menu.
Step 3: Configure Export Settings for Best Results
In the right-hand export options panel, configure the following tabs:
- Main Tab:
- Check Selection Only if your scene contains background lights, cameras, or reference planes you don't want in the final asset.
- Check Apply Modifiers so that active modifiers (such as Subdivision Surface, Mirror, or Solidify) are permanently baked into the geometry.
- Armatures Tab (For Character Rigs):
- Check Deform Bones Only. This strips away complex inverse kinematics (IK) control bones, pole targets, and helper empties, leaving only the clean deform skeleton needed by external game engines.
- Texture Options:
- Check Copy (or Keep UV Texture Links). This tells Blender to copy your diffuse, normal, and roughness image maps into the destination directory alongside the
.daefile.
- Check Copy (or Keep UV Texture Links). This tells Blender to copy your diffuse, normal, and roughness image maps into the destination directory alongside the
Step 4: Click 'Export COLLADA'
Select your destination folder and click Export COLLADA. Your .dae file and associated texture image files are ready.
Why Are Textures Missing in Exported DAE Files? (How to Fix)
The most common frustration when exporting DAE files is opening the model in another viewer only to find a plain white, gray, or magenta mesh. Here is why it happens and how to resolve it:
- Missing Relative Paths: COLLADA references image files by relative or absolute file paths. If you move the
.daefile without moving the texture images folder, the viewer cannot locate the PNG/JPG maps. Always keep the.daefile and its textures in the exact same folder. - Unpacked Textures: Before exporting from Blender, navigate to File > External Data > Pack Resources, or Unpack Resources into a local
textures/subfolder. - Complex Procedural Shaders: COLLADA only supports standard image maps (Base Color, Normal, Specular). Bake procedural node materials into bitmap textures before exporting. If you need photorealistic PBR maps, create them using our free Digibee PBR Texture Generator.
Fast Alternative: Convert GLB or glTF to DAE in Your Browser
Don't have Blender installed on your laptop, or working on a mobile device or Chromebook? You don't need heavy 3D software just to convert a file.
With our free client-side Digibee GLB to DAE Converter, you can drag and drop any GLB or glTF 3D model and instantly download a fully formatted Collada .dae file in seconds. The conversion runs entirely in your browser's memory without uploading files to remote servers.
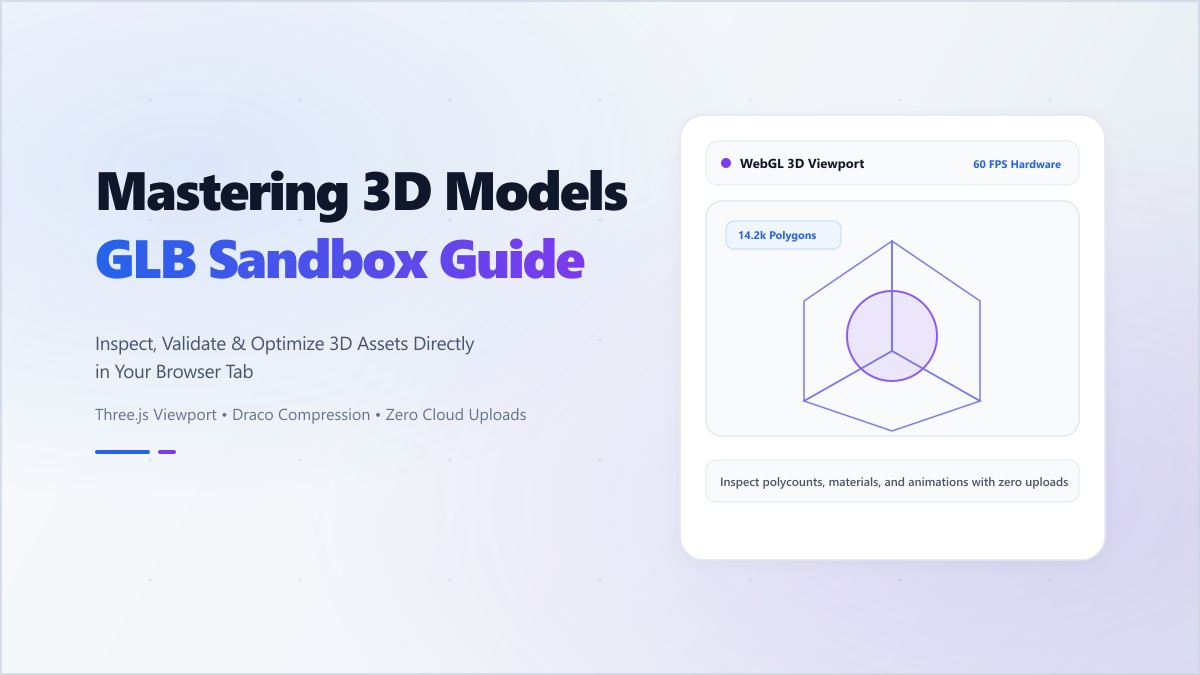
Want to preview your model, verify textures, and test animations before converting? Drop your file into our interactive Digibee GLB Sandbox Viewer to inspect vertex counts, materials, and lighting in real-time.
"Choosing the right 3D file format is all about target workflow: use GLB for lightweight web rendering, and DAE for rich cross-platform CAD and virtual-world exchange."
Simplify your 3D workflow today with Digibee's browser-based 3D creation and conversion tools.